
Before and after photos: proof of work on repair jobs
How to take before and after photos on rental repair jobs: what to shoot, how to match angles, how to send them and how to respect the tenant's home.
 By the RentalThread teamHow we write our guides6 min read
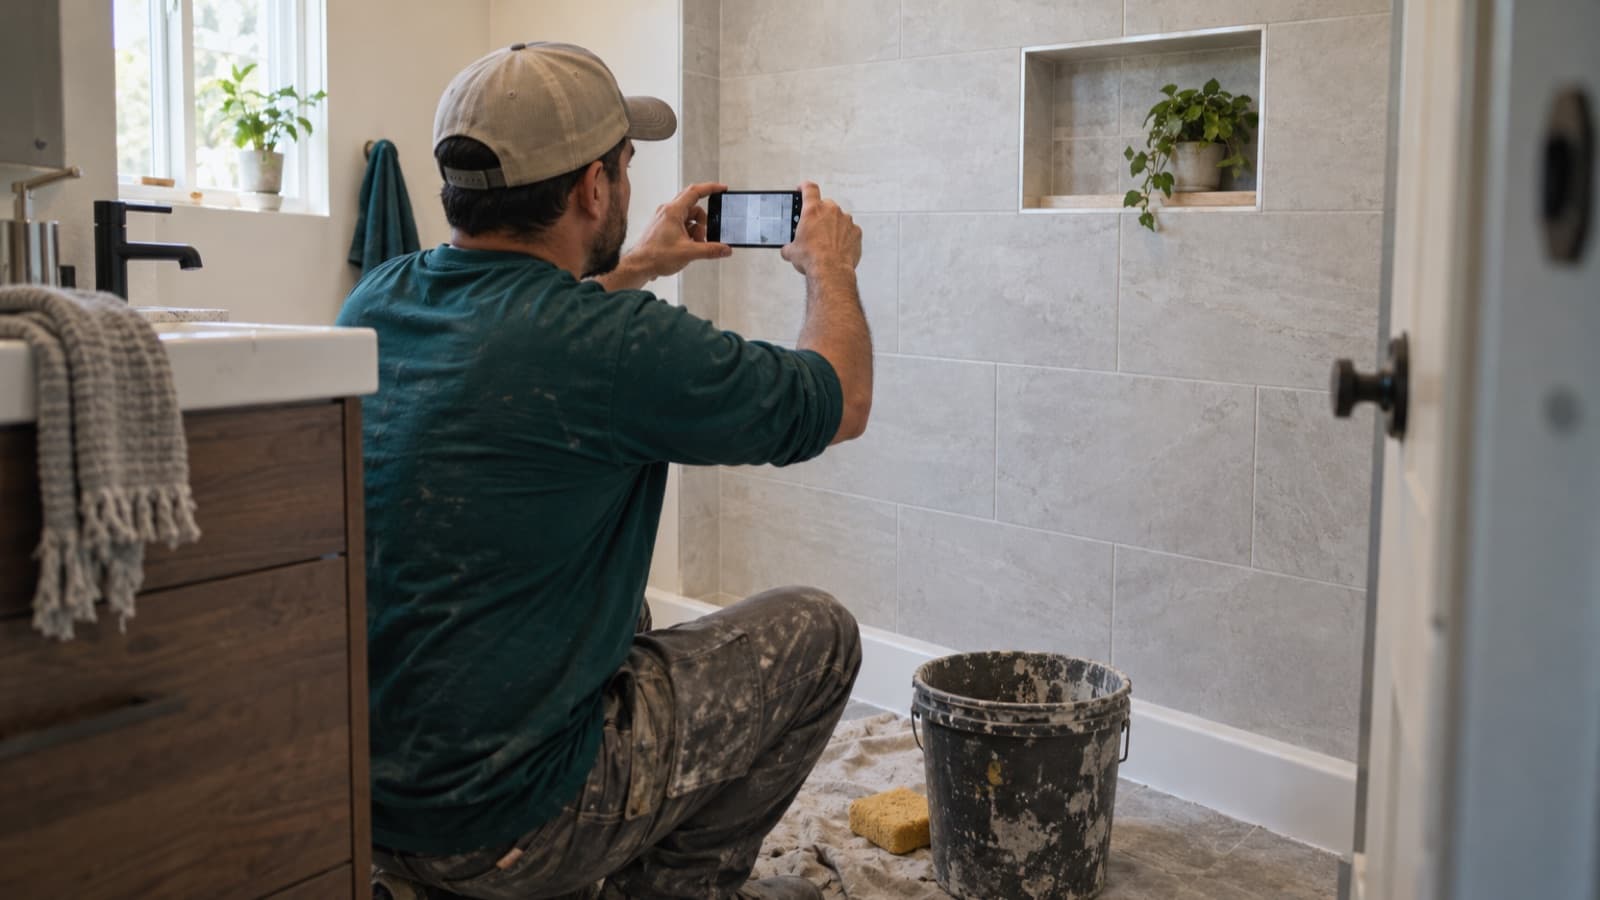
Before and after photos are the simplest proof of work a maintenance pro has. On a rental job, the owner or manager who pays you rarely sees the repair. A few clear photos, taken the same way at the start and at the end, show what you found, what you did and how you left the unit.
This guide is for plumbers, electricians, HVAC techs, tile setters and other pros who work on rentals for owners and property managers. It covers what to photograph at each stage, how to make the before and after shots match, how to label and send them, and how to do all of it in someone else's home.
Why before and after photos matter on rental jobs
On a rental, three people see the same job differently. The tenant lets you in and watches part of the work. The owner or manager approved a price and now gets an invoice. Weeks later, someone may ask whether the stain on the ceiling was there before you came, or whether the new valve is the one on the invoice.
Without photos, the answer is your word against someone's memory. With them, you can show the leak, the damaged part, the finished repair and the clean work area. That helps in a few common situations:
- Getting paid. An invoice with photos attached is easier to check and approve than a line that says "repaired leak."
- Questions about damage. If a scratch, a crack or a water mark was there before you started, a before photo shows it.
- Warranty calls. If the same problem comes back months later, the photos show what you replaced and how you left it. Our guide to workmanship warranties covers the rest of that callback.
Why proof of work goes missing
Most pros already take photos, then lose track of them:
- You skipped the before photo, because the job started the moment you walked in.
- You took the before and after shots from different angles, so nobody can compare them.
- Photos live in your camera roll among hundreds of others, with no note of which unit they belong to.
- They went out over a messaging app to the tenant, while the owner who pays never saw them.
- Some messaging apps compress photos and can drop the date and location stored in the file.
A short routine, repeated on every job, fixes most of this.
How to take before and after photos, step by step
1. Ask before you photograph
You're working in someone's home. Before you take out your phone, tell the tenant what you'll photograph and why: "I'll take a few photos of the pipe and the cabinet for the owner." Ask for their permission, and keep the photos on the repair.
- Frame the shot around the work area. Keep people, family photos, documents, screens and personal belongings out of it.
- If something personal can't be moved, take the photo from another angle or crop it before you send it.
- Never post photos of a tenant's home on social media or your website without the owner's and the tenant's permission, and never show the address or the unit number in them.
If the tenant isn't home or doesn't want photos taken, describe the work in writing and agree with the owner or manager on another way to document it. Rules on entering a unit and on taking and sharing photos vary by state and country, so check the rules where the property is. Our guide on what to do when the tenant isn't home covers the visit itself.
2. Take the before photos first
Make the area safe first: shut off the water or the power if the job calls for it, and follow your usual safety steps. Don't hold up an urgent fix to take a photo. Once the area is safe, and before you start the repair, take the before set:
- One wide shot that shows where the problem is in the room: the whole sink cabinet, the full bathroom wall, the ceiling corner.
- Two or three close-ups of the problem itself: the leaking joint, the broken tile, the burnt outlet.
- Anything nearby that was already damaged: a swollen cabinet floor, a chipped countertop, a loose baseboard. These are the photos that answer "was that there before?"
- Model and serial labels of any appliance or equipment you work on, if they're readable.
3. Photograph the middle of the job
Some of the most useful photos are taken halfway through, of things that will be hidden when you finish:
- what you found after opening a wall, a ceiling or a cabinet back;
- the old part next to the new one, before you install it;
- the work before it's covered: pipe joints before the drywall goes back, wiring before the cover plate, the waterproofing before the tile.
If you find extra work, photograph it before you ask for approval. A photo makes the request clear, and the owner or manager can say yes or no in writing. Our guide on getting paid faster as a contractor covers how to handle extra work found on site.
4. Take the after photos from the same spots
Go back to where you stood for the before photos and take the same shots:
- Same angle, same distance. If the before wide shot was taken from the bathroom door, the after shot is taken from the bathroom door.
- Phone held the same way. Horizontal for both, or vertical for both.
- Good light. Turn on the room lights and open the blinds if you can. Avoid the flash on shiny surfaces like tile and stainless steel.
- Show it working. Water running with no drip, the breaker on and the outlet tested, the heater lit. A short video of a few seconds can show this better than a photo. Test it only when it's safe and within your trade: don't switch on exposed wiring or relight a heater just for a photo.
- Show the area clean. One last wide shot of the work area after cleanup.
5. Label and keep them with the job
Months later, you can't use a photo you can't match to a job. After the visit:
- Put each job's photos in a folder named with the date and the address, such as "2026-10-30 18 Maple St Apt 4B".
- Keep the before and after shots in order, or add "before" and "after" to the file names.
- Keep the original files. Your phone usually stores the date and time with each photo, and a copy sent through a chat app may not keep it.
How to send before and after photos
When the job is done, send the photos to the person who pays, in a form they can check quickly:
- Send them to the person who approved the work, owner or manager, not only to the tenant.
- Pair them up. Put each before photo next to its after photo, with one line of caption: "Kitchen sink, Apt 4B: P-trap leaking at the slip nut (before), new P-trap, no leak with the sink full (after)."
- Attach them to the invoice. Our guide on how to write a repair invoice lists them among the attachments, next to the approved estimate.
- Keep it short. A few clear pairs say more than thirty photos of the same pipe.
Photos support your record of the job, together with the estimate, the written approvals and the invoice. With all four in one place, the owner or manager can check the invoice against what they approved.
When the job is closed, our guide on how to get reviews for your handyman business covers how to ask the owner and the tenant for a review.
How RentalThread will make it easier
With RentalThread, each job will have its own thread with the tenant's photos, the address and the details of the request. You'll post progress and the finished photos in that thread as you work, and the owner or manager will see them there, next to the estimate they approved.
Your before and after photos will stay with the job instead of in your camera roll, and you'll be able to track whether the job has been paid from the same place. See what's planned for maintenance pros.
Send it to an owner, manager, agent, tenant or pro who could use it.
Questions, or a topic you'd like us to cover? Write to us at contact@rentalthread.com.