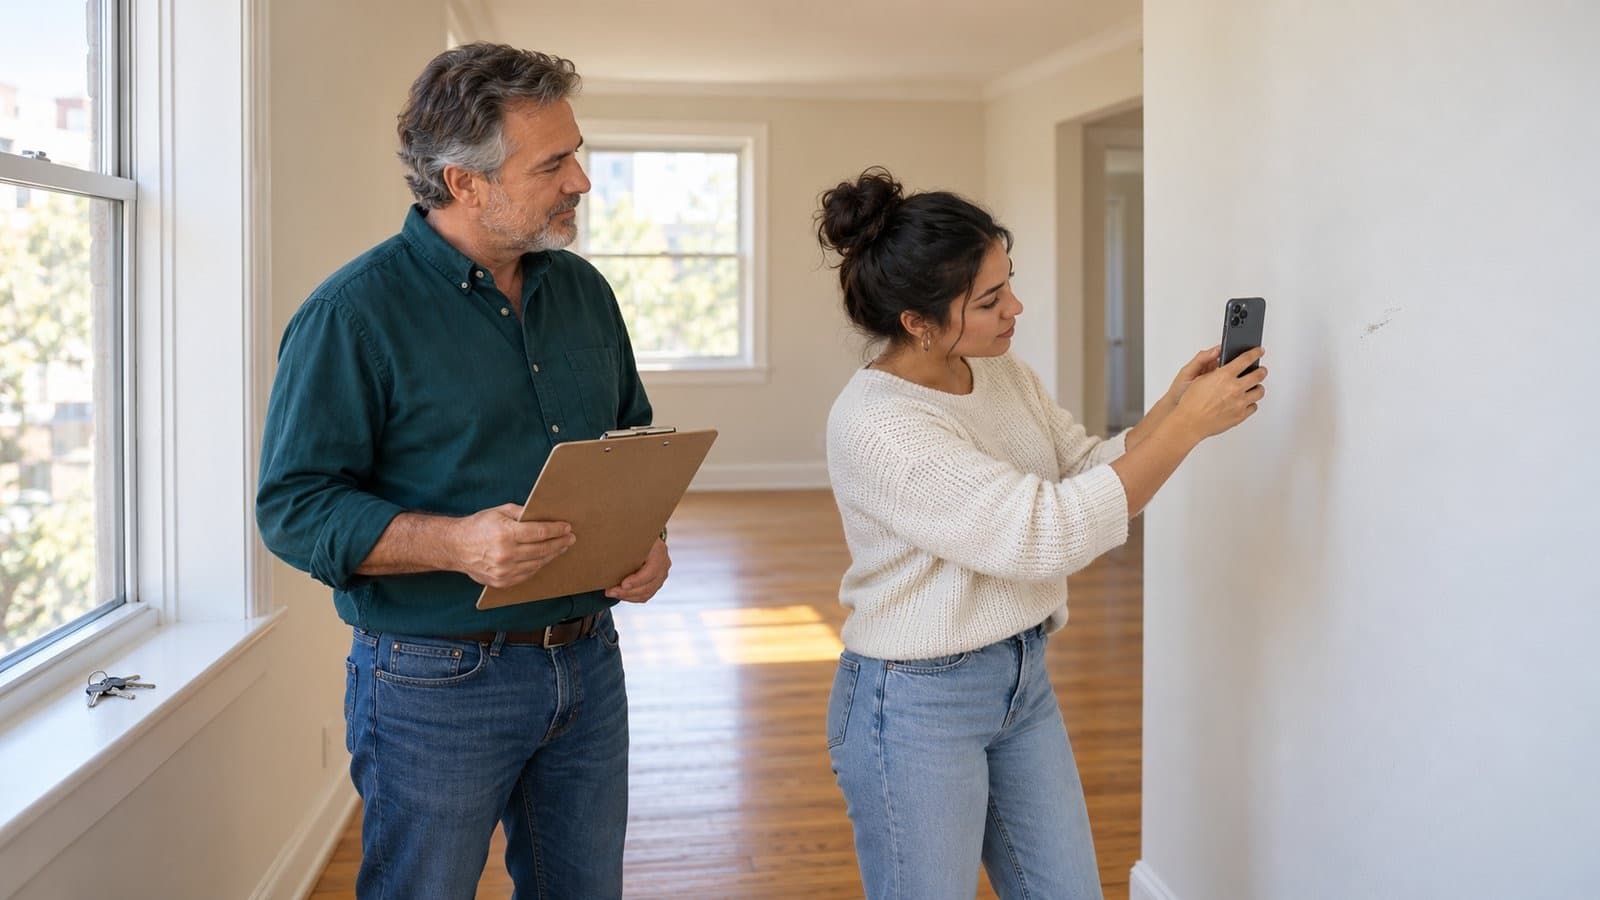

Mid-lease inspection checklist for rental owners
A mid-lease inspection checklist for owners: how to give notice, what to check room by room and how to turn what you find into repairs, not disputes.
 By the RentalThread teamHow we write our guides5 min read

A mid-lease inspection is a short, planned visit to an occupied rental to check its condition while the tenant still lives there. Done on a regular schedule with a mid-lease inspection checklist, it can catch slow leaks, worn seals and broken detectors while they're still small, and leave fewer open questions at move-out.
This guide is for rental owners. It covers when to schedule the visit, how to give notice, what to check room by room and what to do with what you find.
Why problems found at move-out cost more
Many problems in a rental grow slowly. A drip under the sink soaks the cabinet floor for months. Caulk around the tub cracks, water gets behind the tiles and the wall starts to soften. A bathroom fan stops working and mold appears on the ceiling. If nobody looks until the tenant moves out, the repair is bigger, and nobody can say when it started.
That last part is what makes the deposit conversation hard. The owner sees damage; the tenant says it was never reported, or that it was reported and nothing happened. A record from the middle of the lease shows what the unit looked like then, what the tenant mentioned and what you fixed. You and the tenant start from the same facts, though the record alone can't prove who caused the damage.
Why mid-lease inspections get skipped
The visit feels awkward to schedule. Owners don't want to seem intrusive, tenants are busy, and the rules on entry vary, so many owners put it off and wait for the tenant to report problems.
When an inspection does happen, the record often stays with whoever went. The photos sit on one phone, the notes are on paper, and the leak found that day turns into a text to a plumber that nobody can find six months later.
When to schedule a mid-lease inspection
- Frequency: pick a schedule that fits the property's age and upkeep, and consider an extra visit a few months into a new tenancy. The lease and local rules may limit how often you can inspect; follow them.
- Timing: pair it with something that already brings you to the unit, such as a filter change or a smoke detector test, so it's one visit instead of two.
- Season: before winter or the rainy season is a good moment to check the roof, gutters, windows and heating.
How to give notice and set expectations
Most places require reasonable notice before an owner enters an occupied rental, and many set a minimum, often in writing. How much notice, which hours count and what the visit may cover depend on the country, state and lease. Check the rules where the property is before you send the notice.
A good notice includes:
- The reason: a routine condition and maintenance check.
- Two or three time options during the day, and a way to propose another.
- How long it will take, a realistic estimate for the size of the unit.
- Who is coming: you, a manager or a pro.
- What you'll look at: plumbing, detectors, appliances and general condition, not the tenant's belongings.
Invite the tenant to be there and to point out anything that isn't working. Some tenants put off small issues because they don't want to bother anyone, and the inspection is an easy time to raise them. Our guide on giving notice to enter for repairs has a sample notice you can adapt.
Mid-lease inspection checklist, room by room
Bring the move-in inspection photos so you can compare each room with how it looked at the start. For each item, note OK, needs repair or ask the tenant, and photograph anything in the last two groups.
Safety
- Smoke and carbon monoxide detectors: test each one and note its date.
- Fire extinguisher, if the unit has one: pressure gauge and date.
- Electrical: outlets and switches that don't work, scorch marks, flickering lights. Leave any suspected fault to a qualified electrician.
- Gas appliances: if you smell gas, stop the inspection and get everyone outside. Don't light anything or use switches or phones inside. From outside, call the gas company's emergency line or emergency services, and don't go back in until they say it's safe.
- Railings, stairs and balcony: loose parts or damage.
Water and plumbing
- Under every sink: stains, soft cabinet floors, drips.
- Faucets and shower heads: drips, low pressure.
- Toilets: running water, rocking base, leaks at the floor.
- Tub and shower: cracked caulk or grout, loose tiles.
- Ceilings below bathrooms and around windows: water stains.
- Water heater: rust, leaks at the base, the age on its label.
Kitchen and appliances
- Stove, oven, refrigerator, dishwasher and range hood: working, and door seals in good shape.
- Cabinets and countertop: water damage, loose hinges.
Walls, floors, windows and doors
- Walls and ceilings: cracks, damp patches, mold.
- Floors: soft spots, water damage, lifted tiles.
- Windows: latches, broken glass, condensation between panes, screens.
- Doors and locks: front door lock, deadbolt, sliding doors.
Heating, cooling and ventilation
- Heating and air conditioning: turn them on, check the filters and the thermostat.
- Bathroom and kitchen fans: working, not clogged.
- Signs of condensation or mold that point to poor ventilation.
Outside and shared areas
- Roof and gutters, as far as you can see from the ground.
- Exterior walls, drainage near the foundation, the yard, the parking space and storage unit.
Lease items
- Possible changes to what the lease covers, such as pets, extra occupants or alterations. Note what you see without assuming a violation and ask the tenant afterwards, calmly and in writing. Before you act, check the local rules: assistance animals and some occupants have legal protections.
After the inspection: turn findings into repairs
Plan the follow-up the same week:
- Write a short report the same day: date, who was there, each item that needs work and its photos.
- Share it with the tenant and ask them to add anything you missed.
- Create one repair request for each problem, with its photos, and get an estimate where needed.
- Tell the tenant when the work is scheduled, with the right notice for each visit.
- Keep the report with the property's records, next to the move-in report. At the end of the lease, the move-out inspection compares against both.
If something you found was caused by the tenant, record it with its photos and talk it through calmly. Whether you can charge for it, and when, depends on the lease and local rules.
How RentalThread will make it easier
With RentalThread, each property's move-in inspection photos and repair history will be kept with the property, so you can open the move-in photos during the visit. Each problem you find becomes a request in its own thread, with the photos, the pro's estimate, your approval and the finished work, followed by you, the tenant and the pro.
Recurring maintenance with reminders will put the yearly visit and detector checks on a schedule, and between inspections tenants will be able to report problems with photos or video. See what's planned for owners.
Send it to an owner, manager, agent, tenant or pro who could use it.
Questions, or a topic you'd like us to cover? Write to us at contact@rentalthread.com.