
How to take rental listing photos with your phone
How to take rental listing photos with your phone: light, camera settings, angles, a shot list for every room and what to check before you post.
 By the RentalThread teamHow we write our guides6 min read
You can take rental listing photos with your phone that show the whole home clearly, if you plan the light, hold the phone level and follow a shot list. This guide is for real estate agents who list rentals for owners and take the photos themselves. It covers how to prepare the unit, which phone settings to use, how to frame each room, what to shoot and how to check the set before it goes live.
Why listing photos decide who books a visit
Most people look at the photos before they read a single word. If the photos are dark or a room is missing, many of them move on to the next listing without writing to you. Others write only to ask for the pictures you didn't post.
Photos that look better than the home cause the opposite problem. People book a visit, walk in, see a smaller room than they expected and leave. You've spent an hour of your day, and the owner's unit is still empty. When the photos match the home, the people who book a visit already know what they'll see.
Why phone photos often come out wrong
A recent phone camera is good enough for a listing. The trouble usually comes from somewhere else:
- Bad timing. You shoot when the visit fits your schedule, which is often late afternoon or after dark.
- Light from the wrong side. A bright window behind the room turns everything else into shadow.
- Tilted phone. Pointing the phone up or down makes walls and door frames lean.
- The wrong lens. The ultra-wide lens (0.5x on many phones) bends the edges and makes rooms look larger than they are.
- Missing rooms. Nobody planned a shot list, so the bathroom or the laundry gets forgotten.
- Photos everywhere. The good shots sit in your camera roll, a chat with the owner and three listing sites, each with a different set.
How to take rental listing photos with your phone
Work in this order: prepare the unit, set up the phone, frame each room, follow the shot list, then check and upload.
Prepare the unit
- Agree on a time with the owner, and with the current tenant if the unit is occupied. Give the notice the lease and local law require before you enter. Rules on notice and entry differ by state and country, so check the rules where the property is.
- Ask the tenant before you photograph an occupied unit. You may need their OK to take and post the photos even after you've given notice to enter, so check what the lease and local rules say.
- Pick the time of day with the most daylight in the main rooms. If the living room faces west, the afternoon may work better than the morning.
- Clear surfaces. Kitchen counters, bathroom shelves and the floor by the door photograph better when they're nearly empty.
- Remove personal details in occupied units: family photos, mail, documents, anything with a name or address. Ask the tenant before moving their things.
- Turn on every light, open every curtain and blind, and close the toilet lid.
- Clean the lens. A fingerprint on the lens gives every photo a soft, hazy look.
Set up the phone
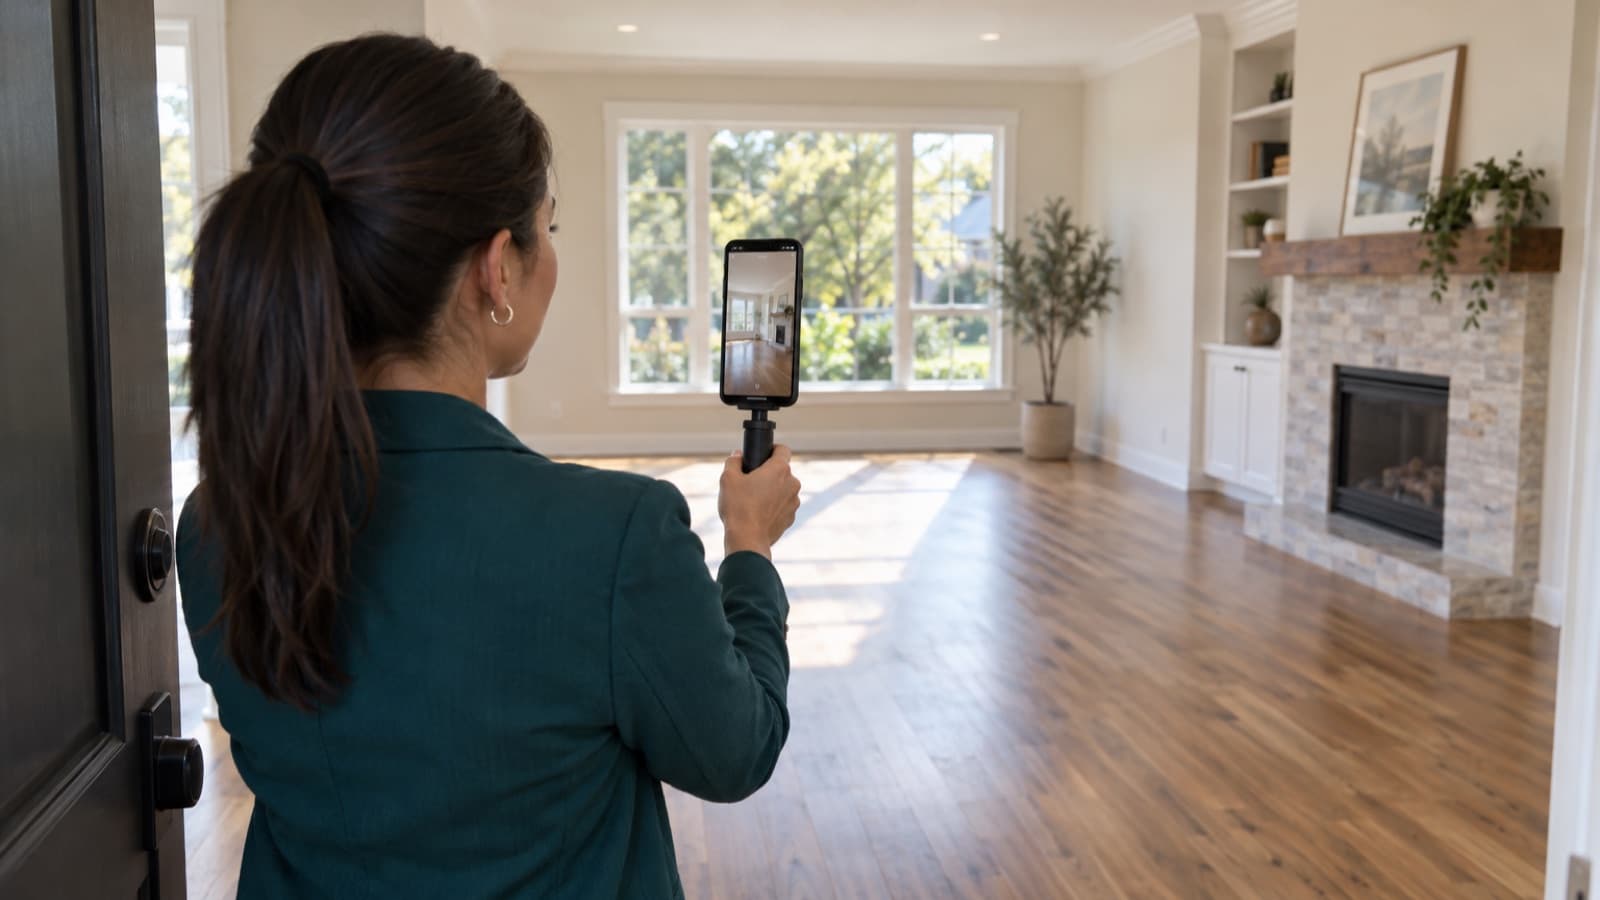
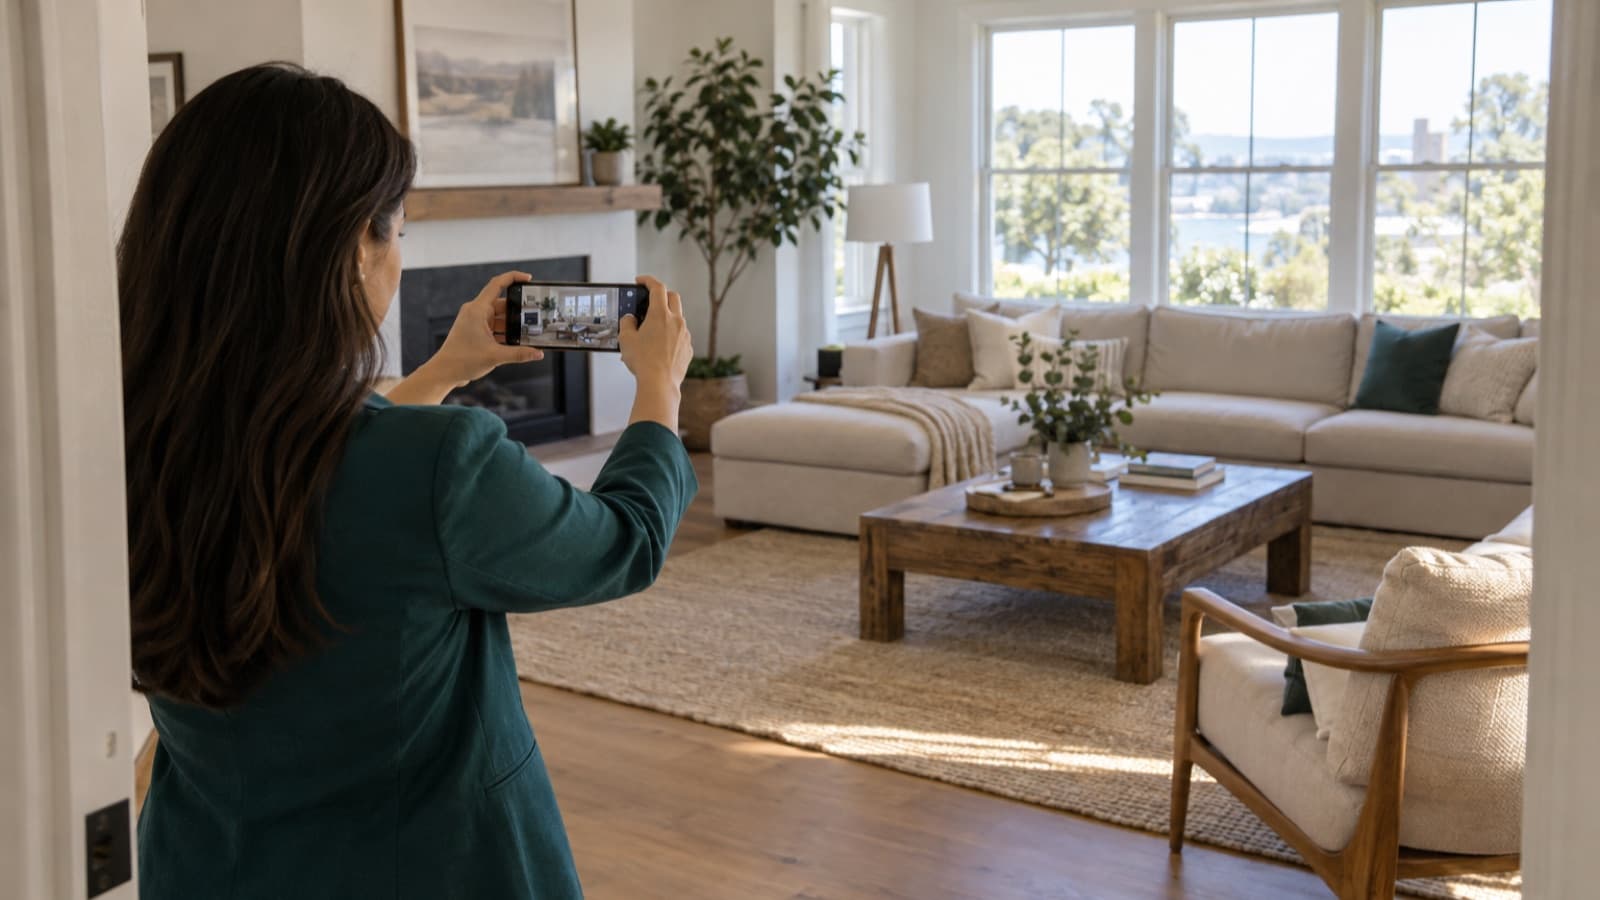
- Hold it horizontally. Most listing sites show photos in landscape, and vertical photos get cropped or show black bars.
- Turn on the grid in the camera settings. Use it to keep vertical lines straight.
- Use the standard lens (1x) first. Switch to the ultra-wide lens only when a small room doesn't fit, keep the phone level, and check that the room still looks its real size.
- Leave the flash off. It flattens the room and causes glare on windows and tiles.
- Leave HDR on if your phone offers it. It helps balance bright windows with darker corners.
- Tap an area inside the room, such as a wall or the floor, not the window. If the room still looks dark, slide the brightness up a little. You can let the window come out white if you can see the room well.
- Use the highest resolution your phone offers, and skip filters.
Frame each room
- Shoot from a corner or a doorway toward the opposite corner. You'll show two walls, the floor and part of the ceiling, which gives a sense of size.
- Hold the phone at about chest height, a bit lower in bathrooms and small rooms. Keep it level: if the walls lean in the grid, you're tilting.
- Brace your elbows against your body, or rest the phone on a shelf or a chair, so the photo isn't blurry.
- Turn so the window is to your side if shooting toward it leaves the room in shadow. If you can still see the room, keep the window in the frame.
- Take two or three angles of each main room, then pick the best one later.
- Add a few close-ups of what people ask about: the stove, the washer, a built-in closet, the view.
Follow a shot list
Use the same list for every unit so nothing gets forgotten:
- Outside: the building entrance or the front of the house, without showing the unit number if you share it only with people who book.
- Living room: a wide shot from the entrance and one from the opposite corner.
- Kitchen: a wide shot and the appliances that come with the unit.
- Each bedroom: a wide shot that shows the closet or the space for one.
- Each bathroom: one shot from the doorway.
- Laundry, storage and parking, if the rent includes them.
- Outdoor space: balcony, patio or yard.
- Shared areas, such as a lobby, gym or bike room.
- The view from the main window, if it's a selling point.
If a room has a known problem, such as a small window or an older bathroom, photograph it anyway. People will see it at the visit, and they'll trust the rest of the listing more if the photos match.
Film a short video on the same visit. Our guide on making a rental listing video with your phone covers the route, the settings and the edit.
Check your photos before you post
Look through the set on a bigger screen if you can, then run through this list:
- Every room in the description has a photo, and every photo matches the text. If the listing mentions a dishwasher, show it.
- Nothing is misleading. No edits that remove cracks, stains or the building next door, and no lens choice that makes a room look much bigger. Some places have advertising rules for property photos, and many brokerages have their own: check the rules where the property is.
- No personal details in the frame: faces, mail, license plates, papers on the fridge.
- Straight lines and enough light. Redo the shots where the walls lean or the corners are black.
- A good first photo. Most sites use it as the cover, so pick the brightest wide shot of the main room or the front of the building.
- A logical order: outside, living room, kitchen, bedrooms, bathrooms, extras. People read photos like a walk through the home.
Light edits are fine: straighten, crop and adjust brightness. The photos should still show the unit people will walk into at the visit.
Keep one set and use it everywhere
Save the final photos in one folder per property, named with the address and date, before you upload them. When you post to several sites, upload the same set in the same order. If the owner repaints or replaces the kitchen, retake those shots and update every site where the listing is live.
Pair the photos with a description that states the facts they can't show: costs, dates, terms. Our guide to writing a rental listing description covers what to include.
How RentalThread will make it easier
With RentalThread, each listing will get one link with its photos, details and price, ready to send by chat or email, or to post on your website and social media, so you won't need to send the same photos to every person who asks. Prospective tenants will book their own visits from the times you make available.
Owners will see views, visits and feedback for their listing without having to ask you, which helps when you need to discuss whether the photos or the price should change. See what's planned for real estate agents.
Send it to an owner, manager, agent, tenant or pro who could use it.
Questions, or a topic you'd like us to cover? Write to us at contact@rentalthread.com.